In one of my previous blogs, I have talked about Postman and how useful it can be for both frontend and backend development. Click on the below link to check it out!
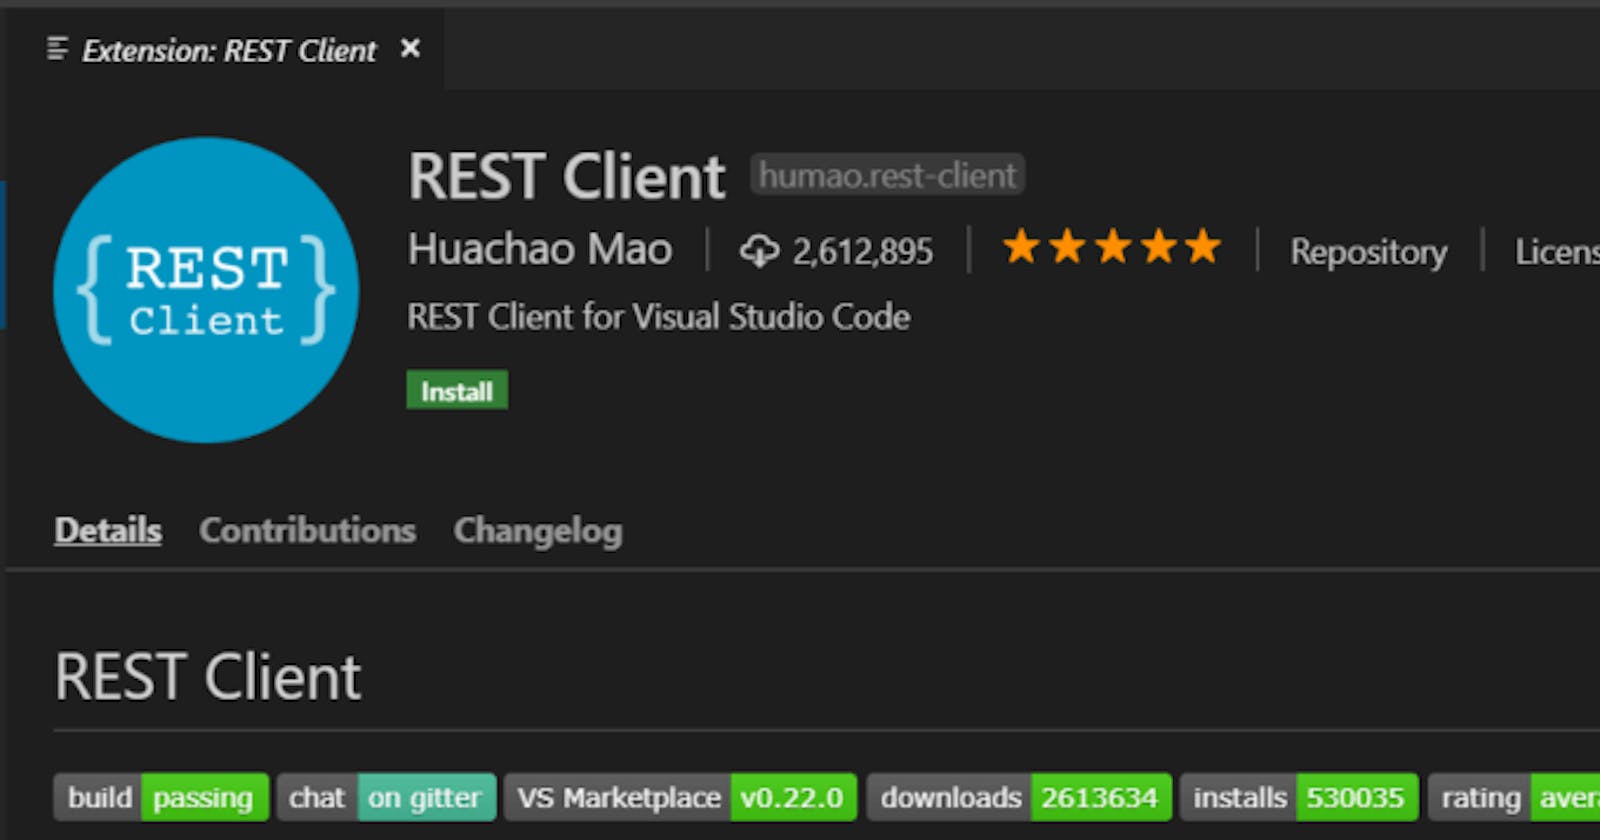
But, if you're like me, a person who likes to do major of his work in one software, then you'd also want to make REST calls inside of VS Code (my favourite editor, as of now). So, a man, named Huachao Mao, made an extension called REST Client to overcome this problem, and believe me, it's been very useful for me, till now.
Installing the extension
You can install the extension from inside VS Code by typing Rest Client inside the extensions search bar.
Main Features
- Send/Cancel/Rerun HTTP request in editor and view response in a separate pane with syntax highlight
- Send GraphQL query and author GraphQL variables in editor
- Send cURL command in editor and copy HTTP request as cURL command
- Auto save and view/clear request history
- Organize MULTIPLE requests in the same file (separated by ### delimiter)
- View image response directly in pane
- Save raw response and response body only to local disk
- Fold and unfold response body
- Customize font(size/family/weight) in response preview
- Preview response with expected parts(headers only, body only, full response and both request and response)
- Authentication support for:
- Basic Auth
- Digest Auth
- SSL Client Certificates
- Azure Active Directory
- Microsoft Identity Platform
- AWS Signature v4
- Environments and custom/system variables support
- Use variables in any place of request(URL, Headers, Body)
- Support both environment, file and request custom variables
- Auto completion and hover support for both environment, file and request custom variables
- Diagnostic support for request and file custom variables
- Go to definition support for request and file custom variables
- Find all references support ONLY for file custom variables
- Provide system dynamic variables
- {{$guid}}
- {{$randomInt min max}}
- {{$timestamp [offset option]}}
- {{$datetime rfc1123|iso8601 [offset option]}}
- {{$localDatetime rfc1123|iso8601 [offset option]}}
- {{$processEnv [%]envVarName}}
- {{$dotenv [%]variableName}}
- {{$aadToken [new] [public|cn|de|us|ppe] [] [aud:]}}
- Easily create/update/delete environments and environment variables in setting file
- File variables can reference both custom and system variables
- Support environment switch
- Support shared environment to provide variables that available in all environments
- Generate code snippets for HTTP request in languages like Python, JavaScript and more!
- Remember Cookies for subsequent requests
- Proxy support
- Send SOAP requests, as well as snippet support to build SOAP envelope easily
- HTTP language support
- .http and .rest file extensions support
- Syntax highlight (Request and Response)
- Auto completion for method, url, header, custom/system variables, mime types and so on
- Comments (line starts with # or //) support
- Support json and xml body indentation, comment shortcut and auto closing brackets
- Code snippets for operations like GET and POST
- Support navigate to symbol definitions(request and file level custom variable) in open http file
- CodeLens support to add an actionable link to send request
- Fold/Unfold for request block
The above features have been taken from the official documentation of *REST Client. You can visit it from the link below for more information. marketplace.visualstudio.com/items?itemName..
Making a GET Request
Let's start by making a GET Request.
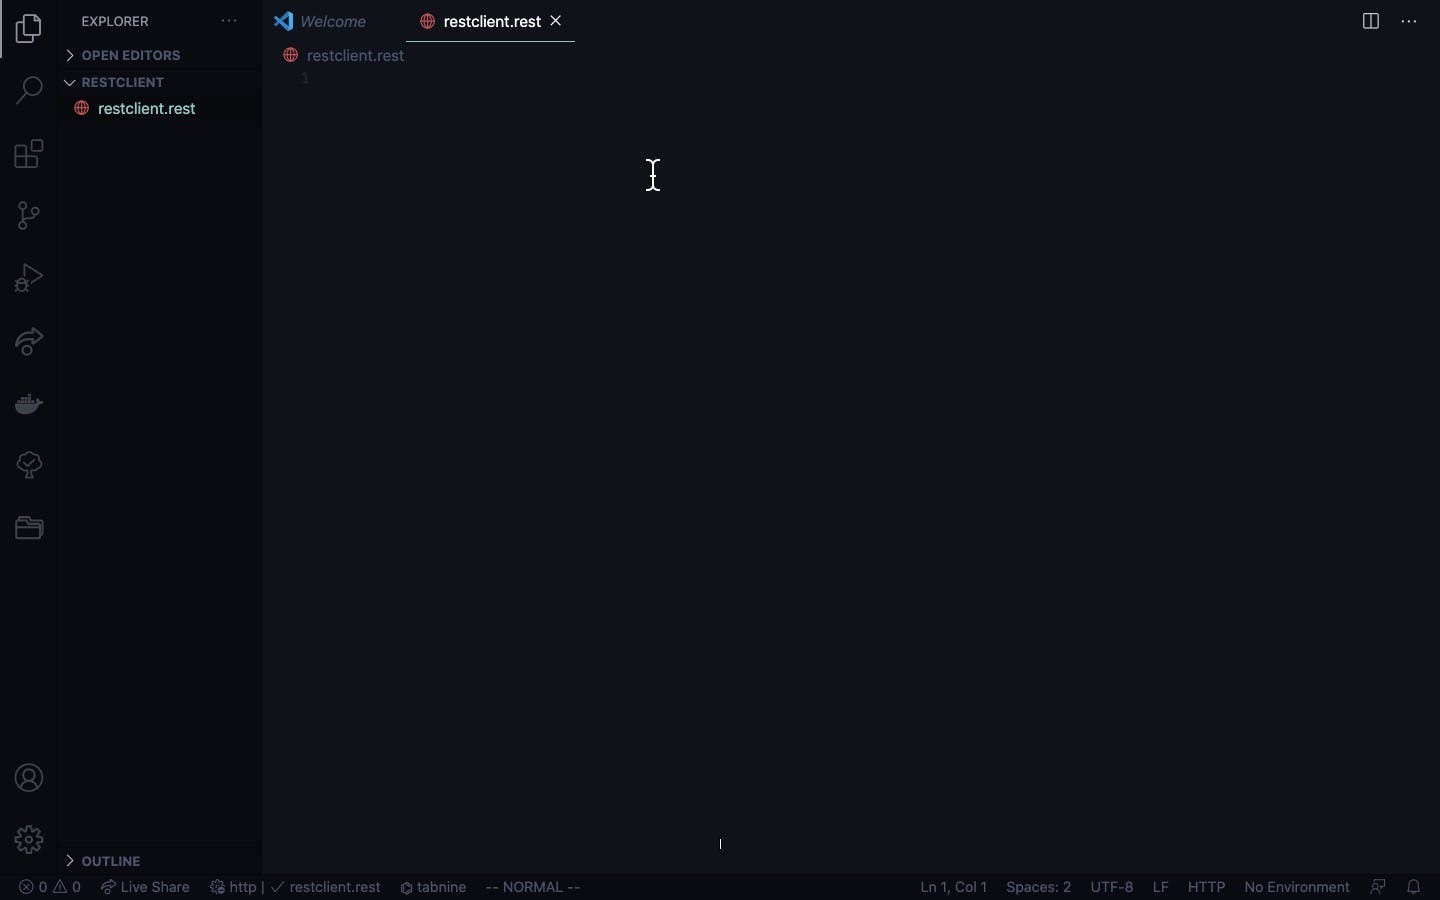
- In VS Code, open a new file, and name it with the extension .rest or .http
- Add a url prefixing it with GET like so
GET https://jsonplaceholder.typicode.com/posts
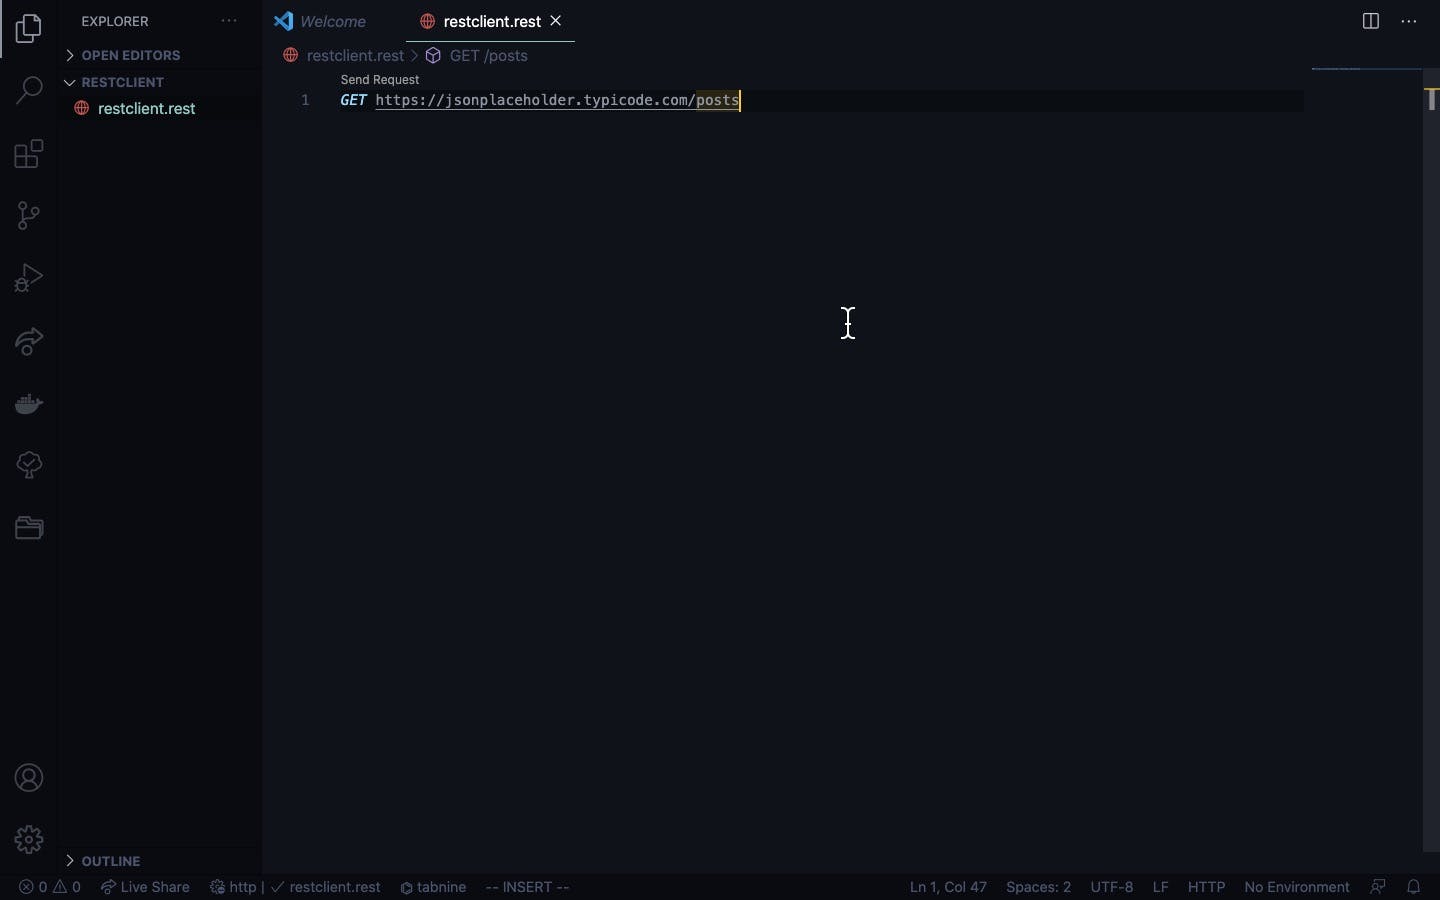
I have used the JSONPlaceholder.typicode.com fake rest api for demonstration purposes. You can use any url which supports get.
- Now click on the Send Request button which has showed up above the url and you should get the response in a split window like so
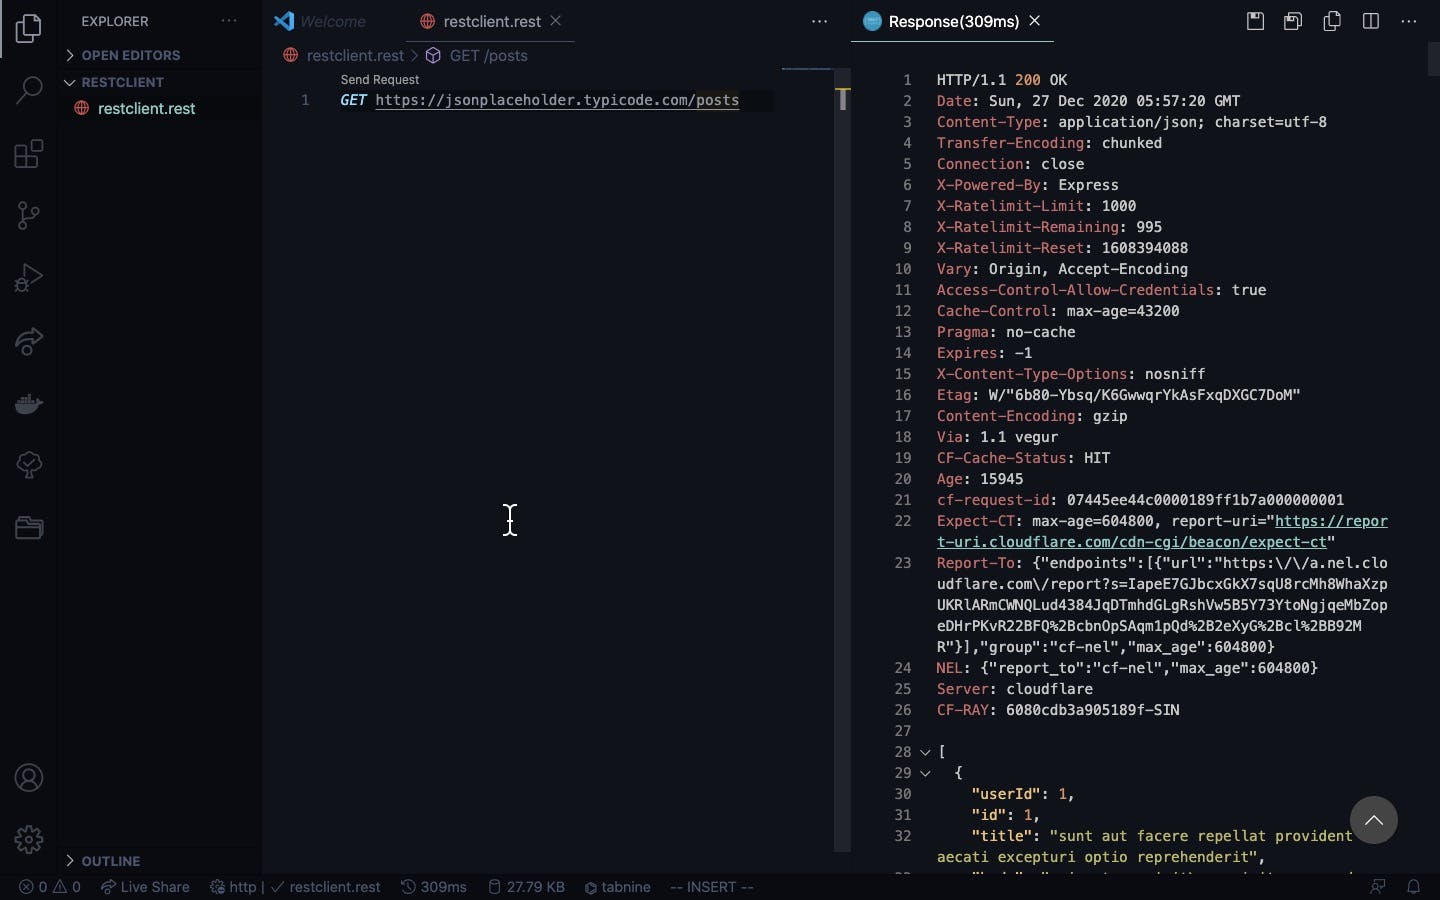
Pretty easy, right? 👍
Making a POST request
- To separate two requests in a rest file, use the below
###
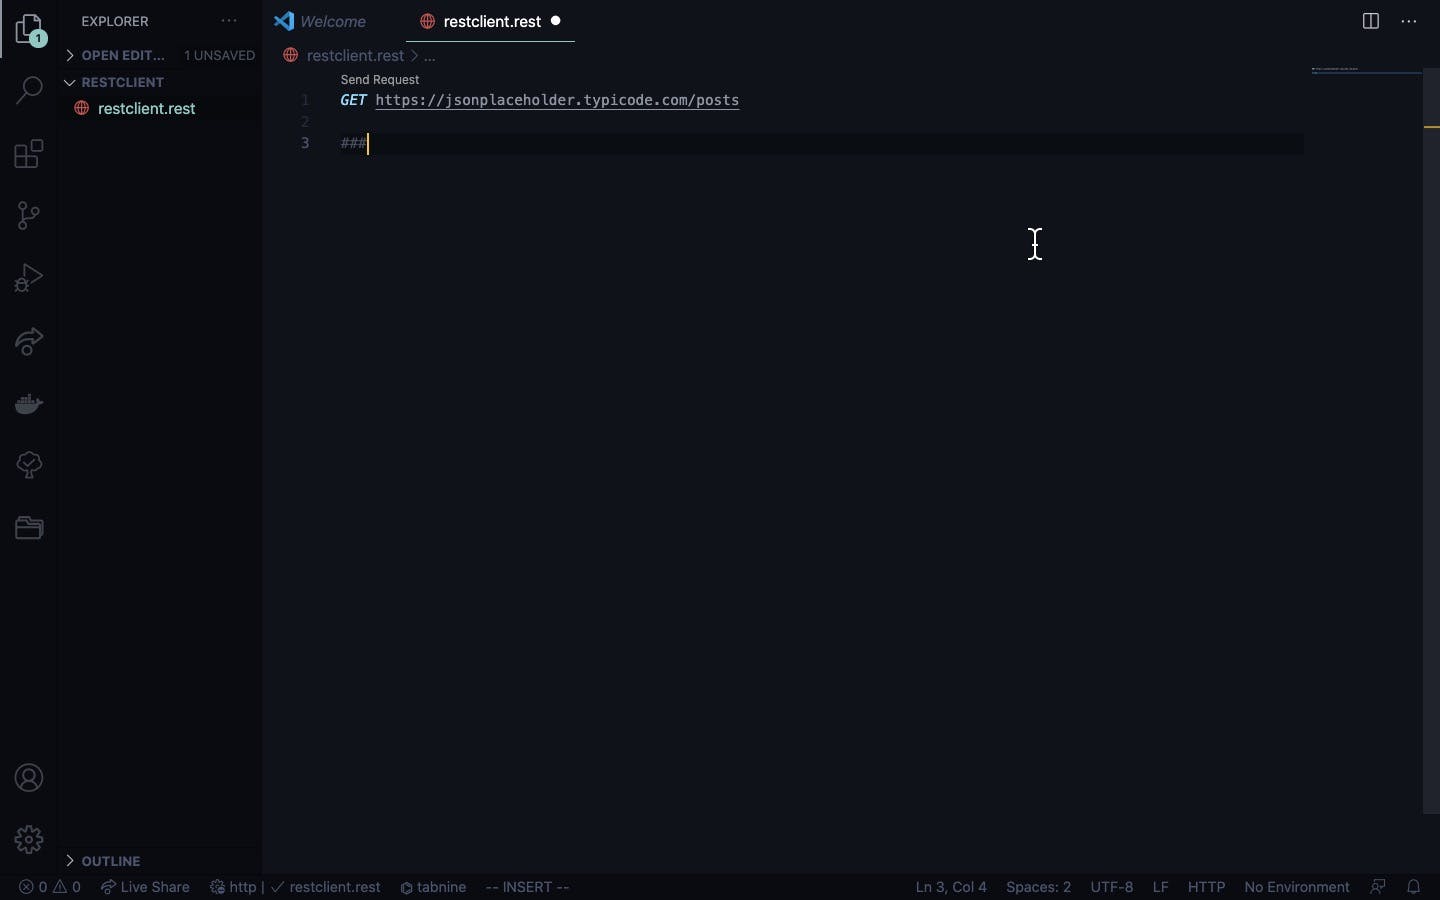
Now, for a POST request, start like before and add the below line
POST https://jsonplaceholder.typicode.com/postsIn a POST request, we usually send a request body and if you've used fetch api or some other way of fetching a post request, you would know, that we need to set the
contenttoapplication/jsonto send a request body as json.To do that we add the line given below just below the request URL.
Content-Type: application/jsonAdding a request body Leave a line after the Content-Type line and add the request body like so
{ "userId" : 1, "title": "Hello World from REST Client VSCode", "body": "This is how to make a REST Call from inside VSCode" }- Now click on the Send Request button
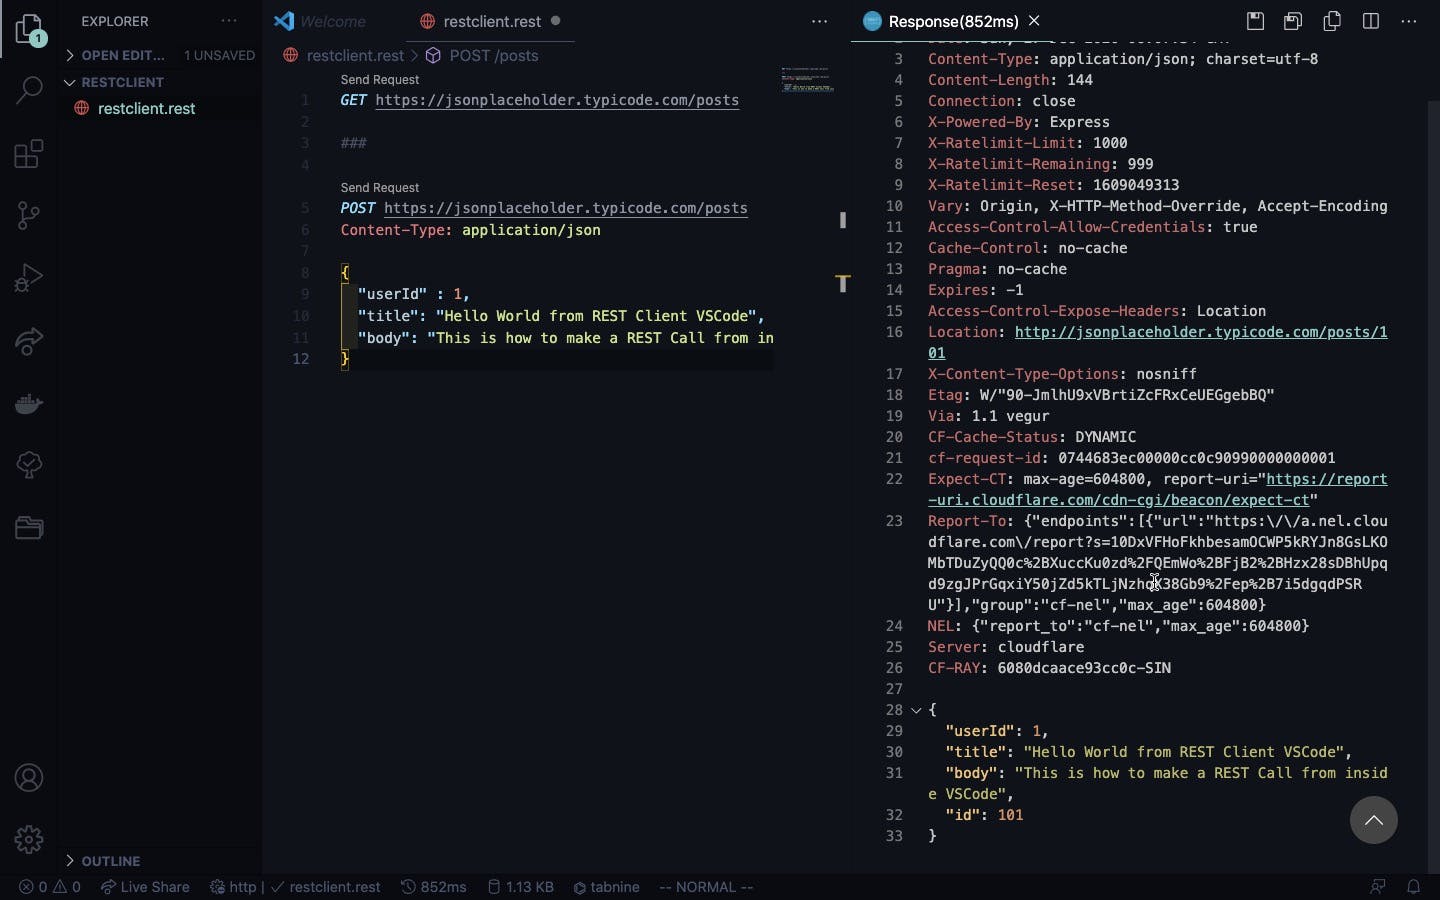
And that's it... We've come to an end to the basics of the REST Client extension inside VSCode. As time goes on, you can read the documentation for your use case like adding authentication tokens, adding headers, etc.
That's it for today, and I hope you found something useful from this. You can find the code used above in the following gist

